Overview
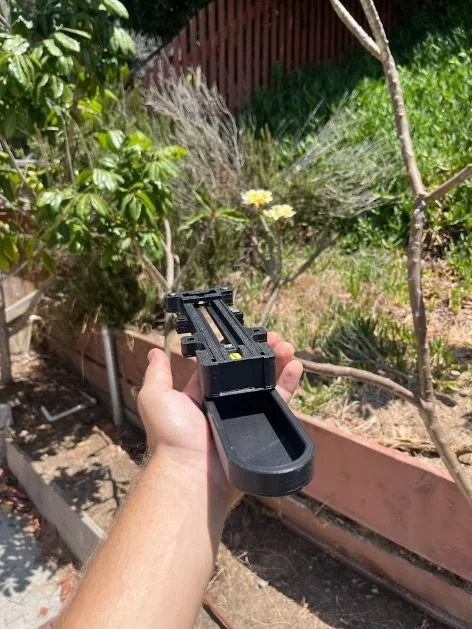
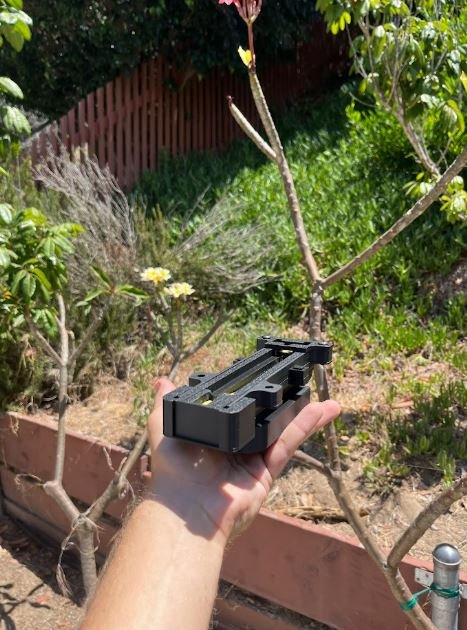
A slim little bin that hides in plain sight. Mounts from the top, stays out of the way, and is ready to slide out when you press the release button.
STL Files are available for download. Results may vary depending on your printer settings and accuracy. For reference, this was printed using a Bambu A1 Mini Printer using PLA Filament and a 0.4 mm Nozzle. If fitment is a problem, please adjust printer settings or part scale until you find your desired tolerances.
I recommend at least 3 wall layers for the bin. Also, please print the Bin Catches, Bin Release Button, and Bin with supports. This design requires 2 (not included) rubber bands - these can be swapped to extension springs if you need something stronger or more reliable. Please follow the assembly video shown here or feel free to email or DM me if you have any questions.
Build List:
From Printer:
1 - Bin Rail
1 - Release Rail
1 - Rail Top
1 - Bin
1 - Bin Release Button
1 - Bin Catch Left
1 - Bin Catch Pin Left
1 - Bin Catch Right
1 - Bin Catch Pin Right
1 - Main Catch Pin
2 - Alignment Pins
Hardware or Non-Printed Parts:
The Following Links are Affiliate Links
1 - 3/16” Rubber Band (https://amzn.to/4pDKdqU)
1 - #61 or similar size Rubber Band (https://amzn.to/4wl18kC)
Filament:
1 - I used Elegoo Black Filament (https://amzn.to/3RTMGkI)
Print Time:
About 10 Hours in Total
Assembly Required
Overview
A slim little bin that hides in plain sight. Mounts from the top, stays out of the way, and is ready to slide out when you press the release button.
STL Files are available for download. Results may vary depending on your printer settings and accuracy. For reference, this was printed using a Bambu A1 Mini Printer using PLA Filament and a 0.4 mm Nozzle. If fitment is a problem, please adjust printer settings or part scale until you find your desired tolerances.
I recommend at least 3 wall layers for the bin. Also, please print the Bin Catches, Bin Release Button, and Bin with supports. This design requires 2 (not included) rubber bands - these can be swapped to extension springs if you need something stronger or more reliable. Please follow the assembly video shown here or feel free to email or DM me if you have any questions.
Build List:
From Printer:
1 - Bin Rail
1 - Release Rail
1 - Rail Top
1 - Bin
1 - Bin Release Button
1 - Bin Catch Left
1 - Bin Catch Pin Left
1 - Bin Catch Right
1 - Bin Catch Pin Right
1 - Main Catch Pin
2 - Alignment Pins
Hardware or Non-Printed Parts:
The Following Links are Affiliate Links
1 - 3/16” Rubber Band (https://amzn.to/4pDKdqU)
1 - #61 or similar size Rubber Band (https://amzn.to/4wl18kC)
Filament:
1 - I used Elegoo Black Filament (https://amzn.to/3RTMGkI)
Print Time:
About 10 Hours in Total
Assembly Required